
A Release Checklist That Actually Runs (Not a Google Doc Everyone Ignores)
Static checklists fail because they have no owners, no state, and no notifications. Here's what a mobile release checklist needs to actually work.

Every mobile team has a release checklist somewhere. It lives in a Google Doc, a Notion page, or the third pinned message in a Slack channel nobody scrolls to. It lists sensible steps: build the app, run QA, submit to stores, wait for approval, go live. Everyone agreed to it in a planning session six months ago.
Then a release gets rushed. Someone skips a step because the doc was not open. QA finishes but nobody tells the person responsible for store submission. The app sits approved in App Store Connect for two days while the PM assumes someone is watching the dashboard. The checklist existed. It did not run.
Why static checklists fail
A checklist in a document is a reference, not a workflow. Documents do not have state. They cannot tell you that step three is in progress while step four is blocked. They do not notify the right person when it is their turn. They do not update themselves when a build fails at 11pm.
Static checklists also lack ownership. A bullet point that says "QA sign-off" does not tell you who is doing it, whether they have started, or what happens if they find a blocker. In practice, ownership defaults to whoever gets pinged first — usually the tech lead, who becomes a human notification system for the entire release.
The failure mode is predictable: the checklist becomes shelfware. Teams revert to DMs, ad-hoc threads, and "can someone check the store?" messages. The doc stays pinned for compliance. Nobody uses it under pressure.
The minimum viable release checklist
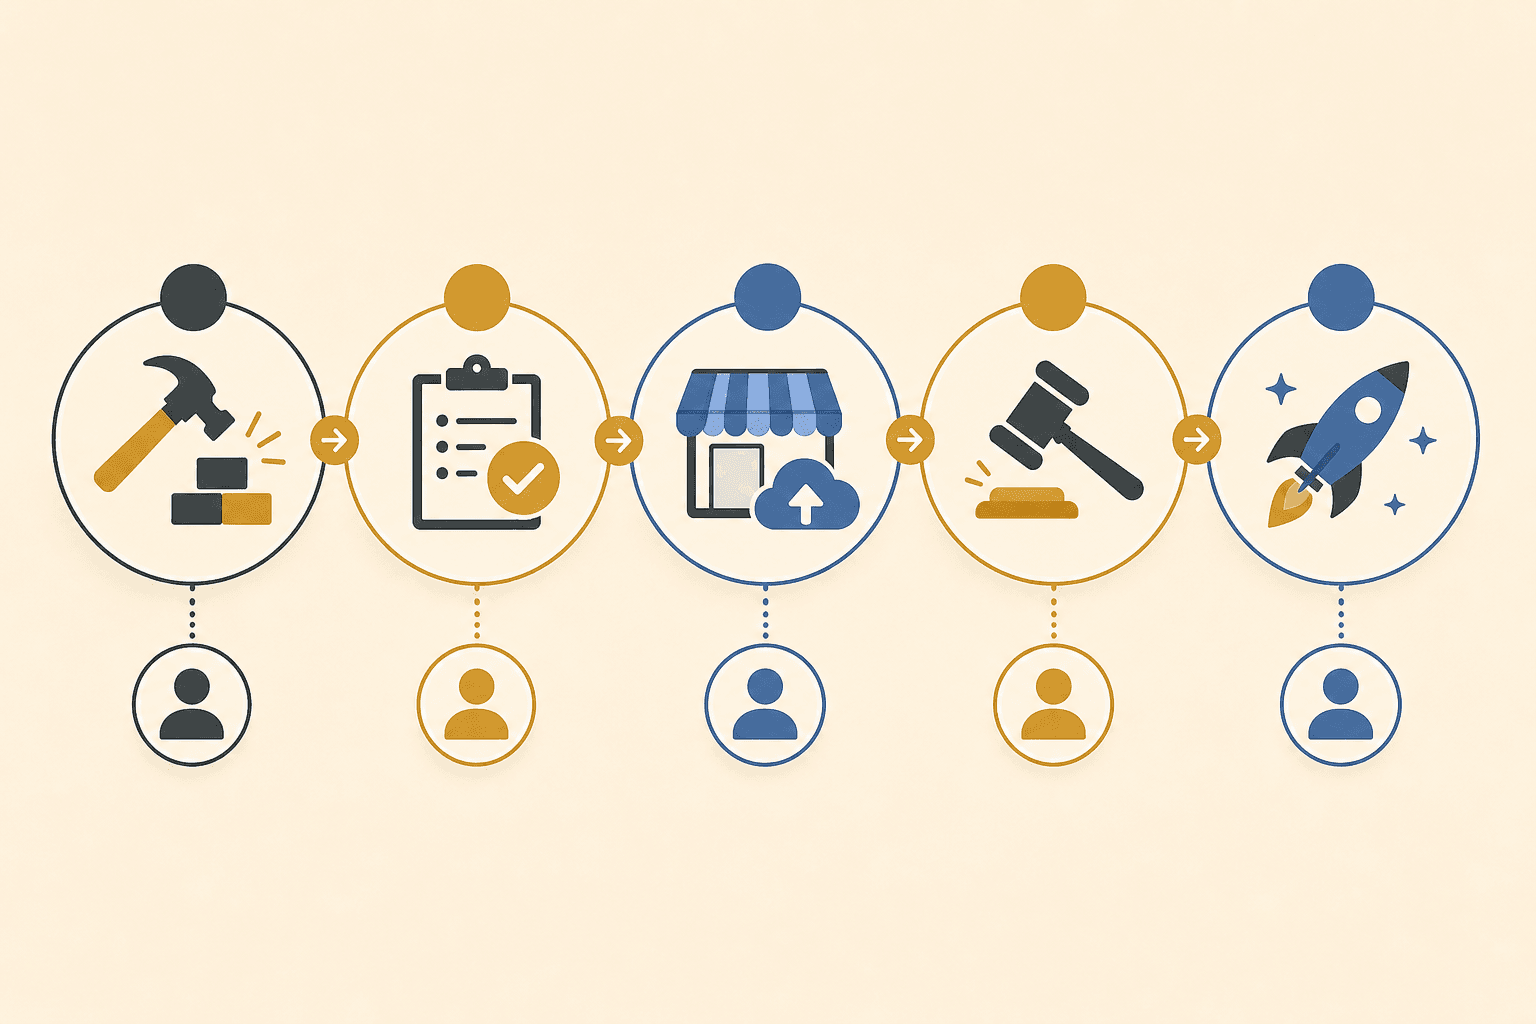
You do not need twenty steps. Most mobile releases need five, and each one should have a clear owner and a clear done state:
Build — A production-ready binary exists for iOS and Android. Owner: usually a developer or build engineer. Done when: CI is green and artefacts are available for QA.
QA — The release is tested against the agreed scope. Owner: QA lead or designated tester. Done when: sign-off is recorded, or blockers are logged and assigned.
Store submit — The build is uploaded and submitted for review. Owner: developer or release manager with store console access. Done when: submission is confirmed in App Store Connect and Google Play Console.
Approval — The stores have accepted the build. Owner: often the same person who submitted, but the notification should reach the whole team. Done when: both platforms show approved status (or one is approved and the other is in review, with that state visible).
Live — The release is available to users, or phased rollout has started. Owner: PM or release manager, sometimes with executive sign-off. Done when: the team confirms go-live in the channel where decisions happen.
That is the spine. Hotfix releases might compress it. Regulated industries might add compliance steps. But if these five are owned, visible, and notified, most release chaos disappears.
Slack vs Notion vs Jira
Teams often ask where the checklist should live. Each option has trade-offs.
Google Docs and Notion are fine for defining the checklist template. They are poor for running it. No native notifications when a step completes. No @mention when it is your turn. No automatic state transitions. You end up copying status into Slack anyway.
Jira can model release workflows with statuses and transitions, but it was built for ticket tracking, not release coordination. Getting a PM, a QA lead, and a CTO to all check Jira during a release is harder than getting them to read a Slack channel. Jira also does not post to App Store Connect when your build is approved.
Slack is where mobile teams already make decisions under time pressure. A checklist that runs in Slack — with steps, assignees, and status updates in the release thread — meets people where they work. The trade-off is that Slack is not a database; you need a tool that structures the workflow without turning the channel into noise.
The best pattern is often hybrid: define your template once, run the workflow in Slack, and let integrations handle the parts that should be automatic (CI build status, store approval notifications). The checklist is not a doc you open. It is a sequence that moves.
From checklist to workflow
A checklist that runs needs four properties: state (which step are we on?), ownership (who is responsible right now?), notifications (who gets told when something changes?), and history (what happened in past releases?).
When a QA lead marks their step complete, the person assigned to store submission should know immediately — not because someone remembered to @mention them, but because the workflow advanced. When Apple rejects a build, the channel should show it and route back to the build step without anyone digging through email.
This is the difference between a checklist people ignore and a release process people trust. The content of the steps barely changes. The execution model changes everything.
Make your next release the test
Before your next ship date, ask one question: if you walked into the release channel right now, could you tell which step the release is on and who owns it? If the answer involves opening three tools and sending a DM, your checklist is still a document.
Turn it into a workflow. Five steps, five owners, one place to see status. Your team already knows what to do — they just need the process to run itself.